Today's post includes a few crafts incorporating beads, scarves and yard, which happen to bring great joy to my crafting. The following were all pre-Christmas projects intended to become gifts, but due to my sometimes short attention span on one craft, and my multitude of pins on my "arts&crafts" Pinterest board, they ended up scattered around my studio. However, a few did make it into gift boxes and to a new home!
T-Shirt Scarf
Materials:
1 Size XL T-shirt in color of choice

1 Pair of Scissors

The Procedure:
This part is really quite simple. Starting at the bottom of the shirt, cut strips about 1 cm in width.Continue until you reach the sleeves and cannot cut anymore.
The first strip cut will be the hem of the shirt- place that one aside. You will need it later.
As I cut my strips, I placed them in a pile...
Once all the strips are cut and placed in said pile, pull out the hem strip.
Begin wrapping it around one section of the scarf. Be sure to leave a tail sticking out that you can tie a knot with at the end.
When the entire piece is wrapped around the scarf, use the tail you left at the beginning and the end you have been wrapping to tie a knot. I think I tied mine 3 times, just to be sure. :)
(Excuse the poor lighting in the below photo.)
Now you have a scarf!
Beads & Buttons
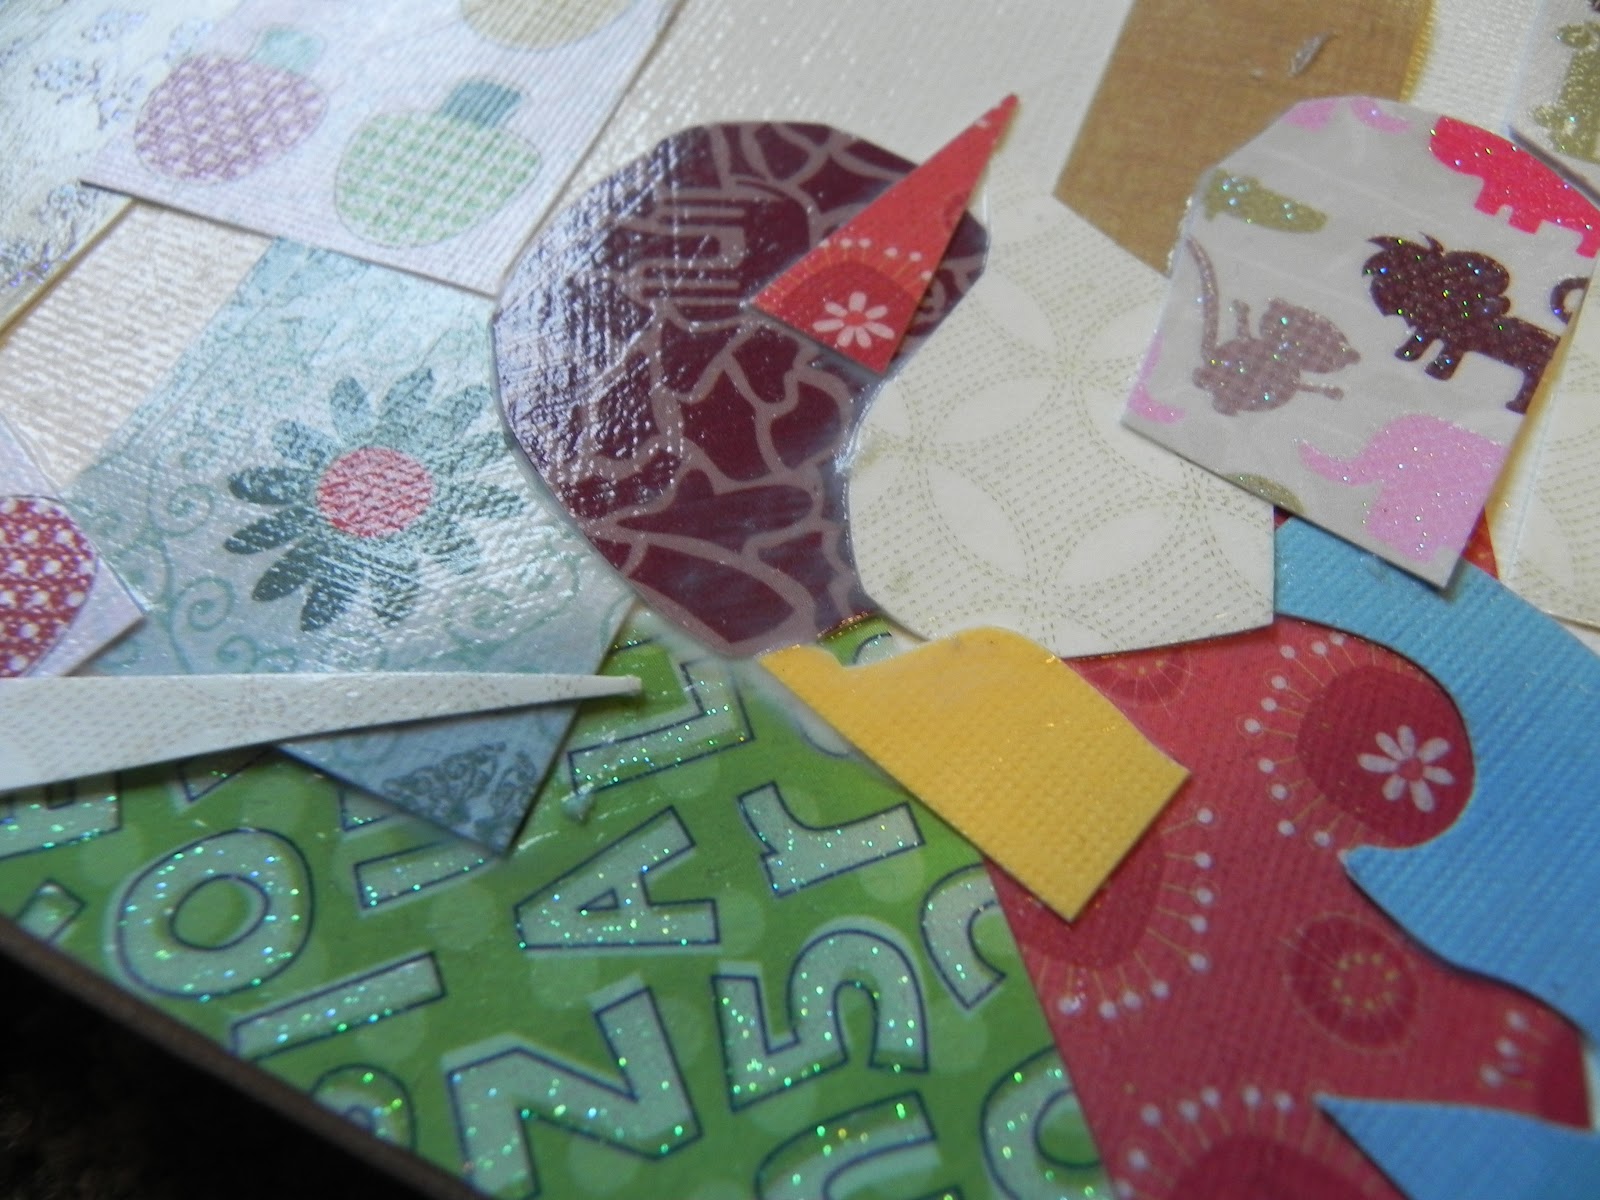
This one doesn't require much of a tutorial, it is just something I enjoyed working on. I picked up some 3x3 canvasses at the store the other day because they were just so cute. Therefore, I needed some even cuter ideas to use them for- here is one.
Another little project...
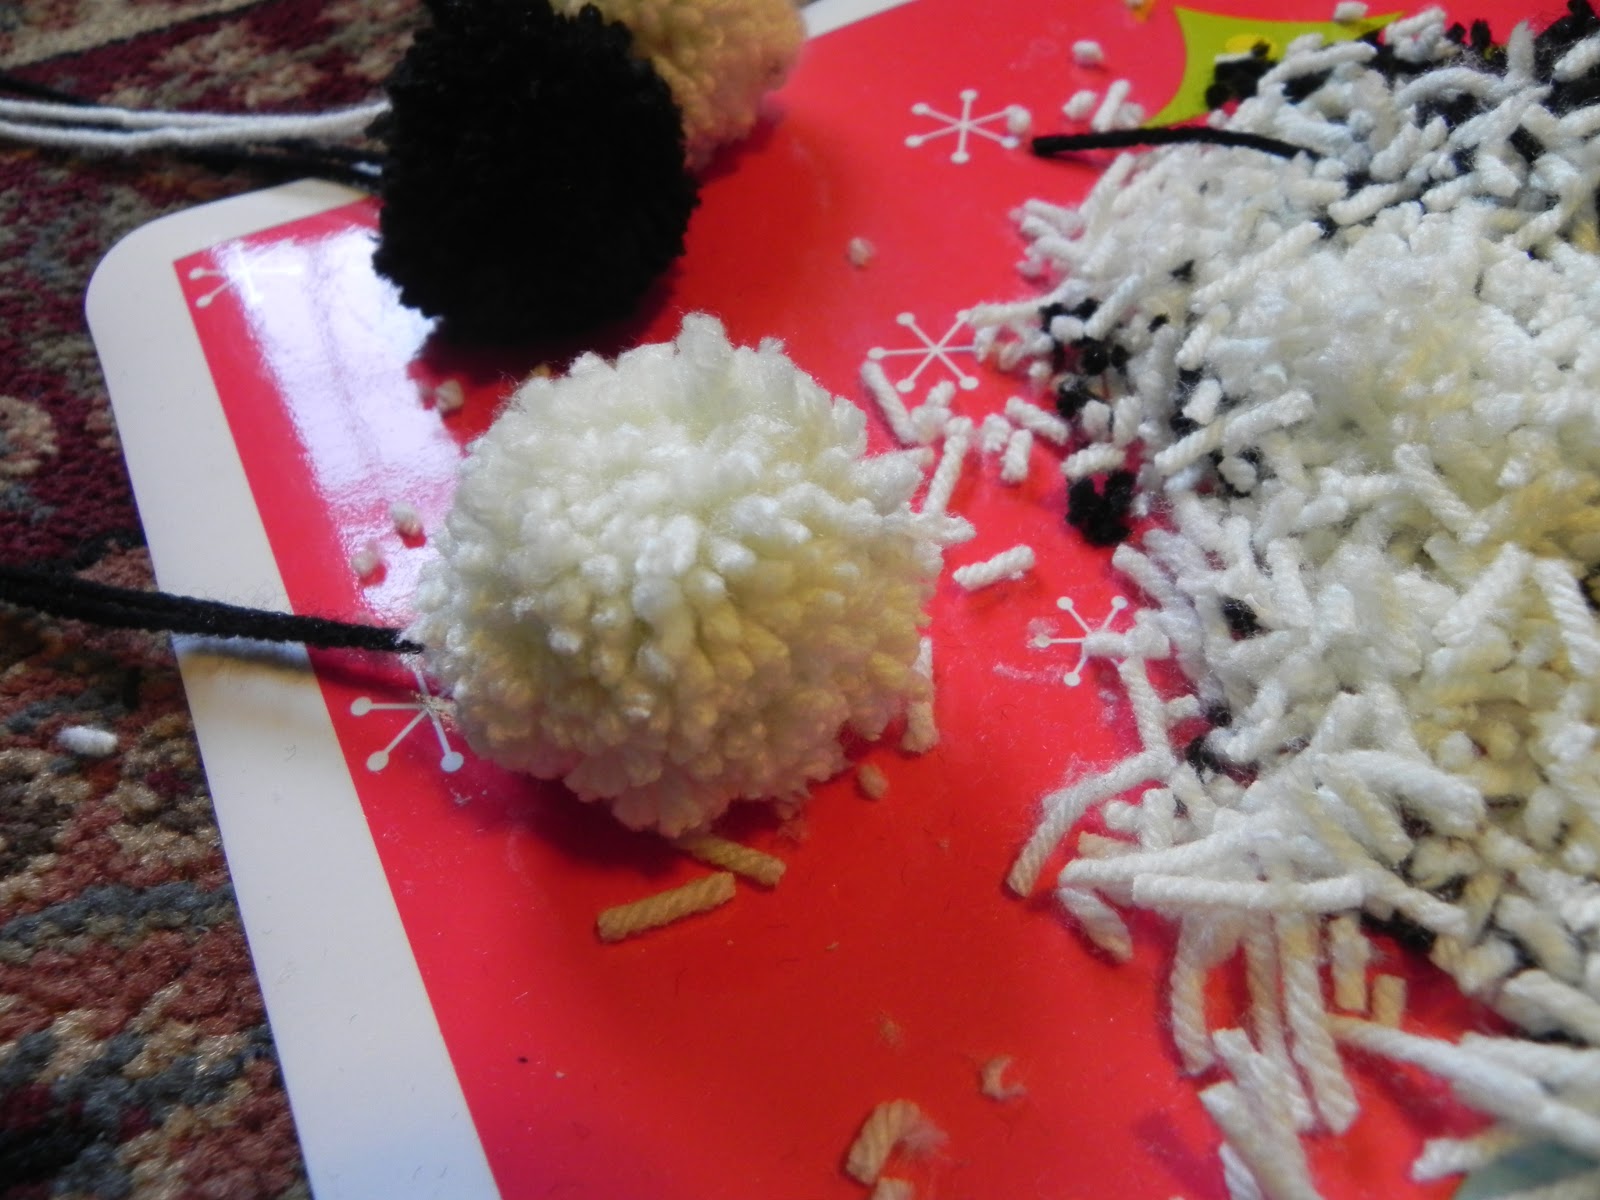
And finally- Pom Poms!
You have probably seen these on Pinterest, if you frequent the site, but I will explain nevertheless.
Wrap yarn around 3 of your fingers 90 times (or 2 fingers, 45 times for a smaller pompom)
Tie a knot with a separate piece of yarn around the wrapped section.
If you would like to make your pompom a bookmark, tie a second piece of yarn around. The length is your choice- as long as you would like your bookmark to be!
Now for the cutting fun!
Clip all the ends and give your pom pom a little (or big) haircut
And there is your pom pom!
Quilling fun with a teeny tiny canvas...
Presents are more fun to unwrap when they have cute gift tags-
I should've separated this into a couple of posts- but rather, I decided to overwhelm you with several crafts since I have not posted in so very long!
I hope you all had a very Merry Christmas!
Emily